Mods can significantly enhance your gaming experience in *Ready or Not*, offering fresh content and features that can revitalize your gameplay. However, they can also introduce instability and prevent you from playing with friends who don’t have the same mods installed. If you're facing these issues, here’s a step-by-step guide on how to completely remove all mods from *Ready or Not*.
How To Remove Mods in Ready or Not
Whether you've installed mods manually, through Nexus mod manager, or mod.io, you can easily delete them by following these steps:
- Launch *Ready or Not*.
- Unsubscribe from all mods via the in-game Mod Menu to prevent them from redownloading after deletion.
- Close *Ready or Not*.
- Open Steam, right-click on *Ready or Not* in your Library, and select Properties.
- Navigate to Installed Files, and then click Browse to access the game’s folder.
- Go to *Ready Or Not* > Content > Paks.
- Delete everything in the Paks folder, then delete the Paks folder itself.
- Press Windows+R, type %localappdata%, and press Enter.
- Locate the *Ready Or Not* folder, navigate to Saved > Paks, and delete this Paks folder as well.
- Return to Steam, right-click on *Ready or Not*, go to Properties > Installed Files, and select Verify Integrity of Game Files to ensure no bugs remain.
If you’re not planning to use mods again, consider reinstalling the game for a fresh start. While not necessary, it can be beneficial.
Related: How To Fix ‘Serialization Error Action Needed’ in Ready or Not
Why Should You Delete Mods in Ready Or Not?
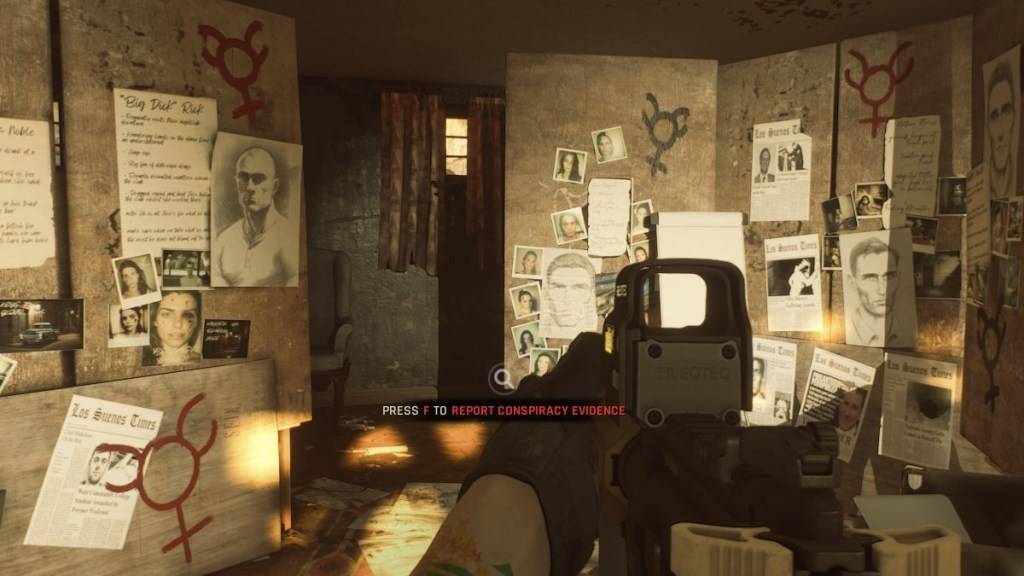
Additionally, having mods installed can restrict your ability to play with others unless they have the same mods. If you want to play with friends who are new to the game, deleting all mods will be necessary to ensure compatibility.
*Ready or Not is available now for PC.*
 Home
Home  Navigation


 Latest Articles






 Latest Games